


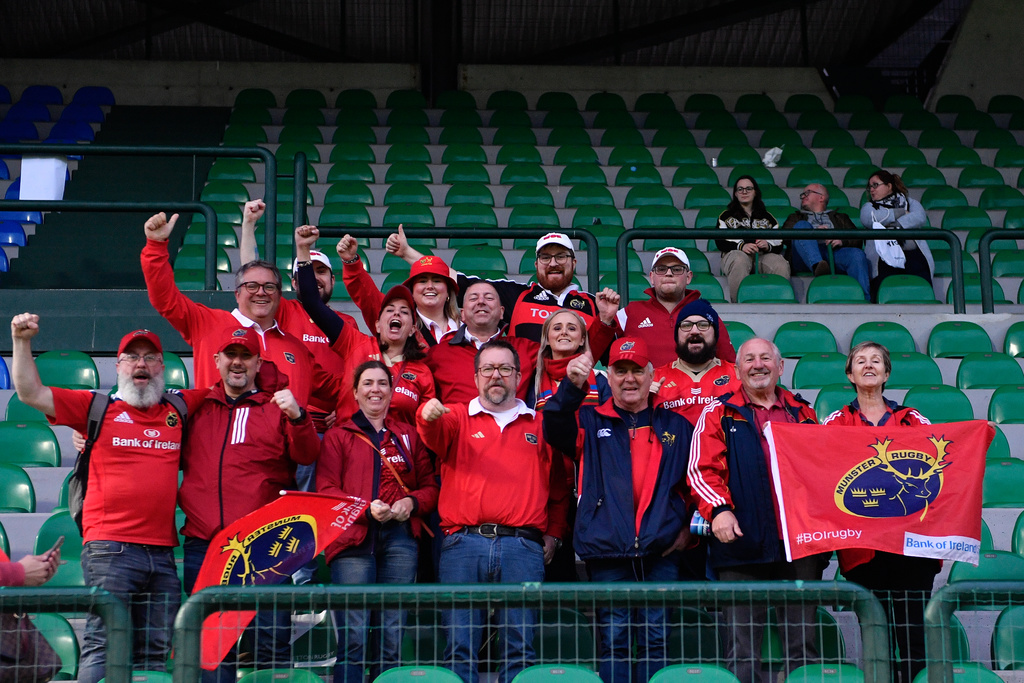
Benetton is a tough place to go – I told you.
Look, we could and maybe should have lost this game, in one way, but had more than enough juice in the tank to have won it at the same time. It was that type of game.
As we were expecting, the game broke down on very strict stylistic lines. Almost stereotypically so, in some ways.
Benetton’s Heavy Counter-Transition vs Munster’s High Tempo On-Ball Rugby.
What would we expect from this without even looking at the game?
Well, we’d expect Benetton to have a low Pass-Per-Kick number in the counter-transition range (between 1.3 and 1.4) which would signify a lot of kicking in their usage of possession. We’d also expect them to have a tight Pass-Per-Carry ratio – around 1.2/1.3.
We’d expect Munster to have a high pass-per-kick number in the on-ball range (between 1.7 and 1.9) with a mid-range PPC ratio to match (around 1.4/1.5).
It didn’t exactly turn out like that, but it was close.
Benetton’s PPK rate was one kick for every 3.6 passes. Munster’s was one kick every 9.2 passes. Benetton had a slightly higher Pass Per Carry ratio (1.4) while Munster’s was slightly lower than normal (1.3), but that was brought down by a good few sequences on their 5m line that we only converted late in the game.
Essentially, Benetton kicked after one or two phases to go after us on our return of the ball. We answered that by hanging onto the ball for long sequences to crack them under phase pressure in the short, medium and long term. On Ball Rugby, as I’ve described it, relies on playing beyond the normal 3/4 phase timer counter-transition teams operate on to drag the opposition into long sequences of defence where you either win a penalty and advance up the field, find a linebreak to advance up the field and pick off a retreating defence or bank all the long defensive sequences for later in the game when the opposition will suffer the physical consequences for racking up 120+ tackles in the first 60 minutes.
The linebreaks in this sequence, for example, don’t just happen. You earn those gaps all through the game.
That’s a key outcome of playing in this way. It is inefficient, but that’s the point; in holding onto possession, you ride out difficult phases for the overall bonus you get of keeping the opposition defending beyond three or four sharp phases. You have to be conditioned for it to make it work – and we are – but it’s got drawbacks to it that can cost you in the right circumstances.
Our 3-3 central shape is part of this system of flattening out and punishing the opposition defence with both options and physical pressure. Our backline moves independently of this 3-3 shape with an edge forward on either tramline to help us advance into the wide channels and retain the ball when we’re there.
Both pods of three need to be very good at interplay within the pods, passing into the screen when required and then being able to retain the ball on the deck at the breakdown. When Munster does this well, we generate a tonne of Offensive Ruck Work metrics because of how many phases we get through. But it doesn’t stop there. We need our backs to move around these two main pods – into the space they expose through compression and use their gravity to slingshot into the wider spaces – with our halfbacks being the key component in making sure we “supply” both of the pods with enough possession to work.
The halfbacks’ role in this can’t be understated. The #9 needs to be able to hit consistent high-quality passes at mid-range to allow the pods to target the defence far enough away from the work to require the defence to fold around the ruck point at pace. “Scrum-half has to pass ball well” sounds like a truism but so much of Munster’s system relies on getting that width, pace and accuracy in our passing off #9 to allow us to play at tempo. We don’t want to get into a slugfest off #9 – that isn’t our game and you can tell by our work at close range that we’re still developing our physicality there.
If we don’t get that accuracy, our pods have to readjust onto the ball which means they aren’t in the best position to pass (tip on or screen) or carry with power.
By the same token, we use our #10 as a handler primarily compared to Counter Transition teams who need their #10 to almost float into space and pick kicking angles to best pressure the opposition’s return of the ball. Our #10 needs to be a sharp passer close to contact, with a massive premium on their ability to sell their own offence with the ball in hand as a core component of the system.
When that threat isn’t there, in combination with a drop in quality from #9, our system becomes infinitely harder to run successfully.
I could show you a pile of sequences just like these from the first 65 minutes of this game. Here’s an example of what I’m talking about that leads to a clean breakdown turnover.
Look for the things I spoke about – pass quality, space between ruck and pod and movement from the primary playmaker. Even the scrappy lineout ball would fit.
The heavy pitch 100% limited what Carbery and Coughlan could do – or could do effectively – but Carbery, in particular, was a little static for me, certainly compared to last week’s game against the Sharks. Carbery looked like he was playing hurt too, from pretty early in the game, but it’s telling that we didn’t really get any breaks with our play style until later in the game when our earlier phases started to add up for Benetton AND when we had a more physical presence in midfield alongside Carbery, particularly off the set piece.
When it works, we know our style dominates games with the ball in hand and create 22 entries as a matter of course. As an example, go back and watch that first-half performance against Leinster in the URC semi-final last season for the good and bad of this system. We dominated that game with the ball in hand and left Leinster scrambling for scraps to get back into the game. But, on the other hand, our efficiency in taking the chances we created left us in a spot where we only took 1.4 points on average across our nine 22 entries.
This game was something of a carbon copy in that regard. We had nine entries to the Benetton 22 and only scored 1.4 points on average per entry. Some of our execution in the third quarter was genuinely really poor.
This is a fairly brutal example – and Donnelly is unlucky to get clipped by the rolling tackler – but it illustrates some of our inefficiency on the 5m line.
Our High Tempo On Ball rugby has inefficiency baked into it but it can’t endure inefficiency once we actually get into the scoring zone – that’s the key work-on with this group. That applies to finishing off phase play sequences, yes, but also tightening up our set-piece; the lineout and maul in particular.
From a scrummaging perspective, I thought we stuck in there pretty well given the late change to Josh Wycherley. Kieran Ryan would have had every reason to get absolutely pumped and, sure, he conceded a few penalties, but he stuck in there and did well for a fella making his first start at this level.
I feel we’re a player away from having a real weapon of a scrum, actually, and we looked really dangerous when we launched from there.
Overall, I’d put this game down as two points saved, rather than two or three points dropped. This Benetton side will trouble a lot of sides in the Monigo this season and we were one of them. Bank the two points, move on to Dragons in Cork and take the system lessons where we find them.
| Name | Rating |
|---|---|
| Kieran Ryan | ★★★ |
| Diarmuid Barron | ★★ |
| Stephen Archer | ★★ |
| Edwin Edogbo | ★★★★ |
| Fineen Wycherley | ★★ |
| Jack O'Donoghue | ★★ |
| John Hodnett | ★★ |
| Gavin Coombes | ★★★ |
| Ethan Coughlan | ★★ |
| Joey Carbery | ★★ |
| Calvin Nash | ★★ |
| Rory Scannell | ★★ |
| Antoine Frisch | ★★★ |
| Shay McCarthy | ★★ |
| Shane Daly | ★★★ |
| Scott Buckley | ★★★ |
| Mark Donnelly | ★★★ |
| John Ryan | ★★★ |
| Tom Ahern | ★★★★ |
| Alex Kendellen | ★★★ |
| Paddy Patterson | ★★★★ |
| Alex Nankivell | ★★★★ |
| Sean O'Brien | ★★★ |
